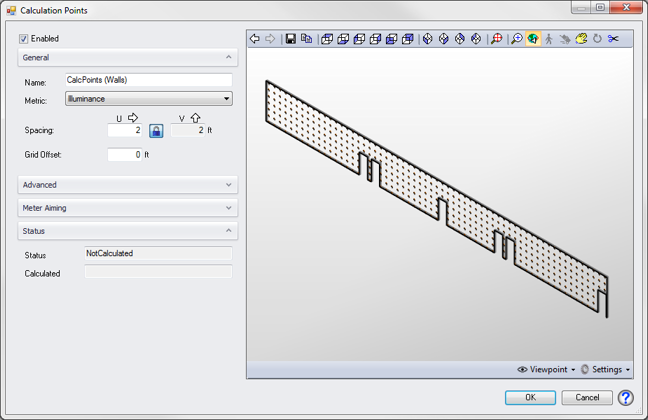
Add Calculation Points - Planar Face
|
ElumTools provides a way to place calculation points on any surface or imaginary plane using the Add Points - Planar Face option. This allows calculation points to be attached to any wall, floor, ceiling or object face. Points can be offset some distance from the surface if desired.
By default, Planar Face points will be computed when ElumTools is set to any mode: General Use, Emergency or Daylighting and the associated lighting metric will be illuminance. |

|
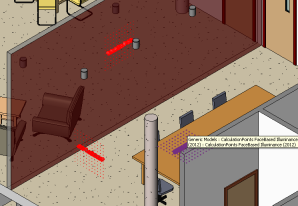
When the command is selected, ElumTools will attach an instance of the Calculation Points Face-based family to the cursor. Place the family on any surface, or multiple surfaces, in any Revit view. Multiple instances are the default, where you can place sampling point grids repeatedly until right clicking to select Cancel from the menu, or pressing the Esc button twice.
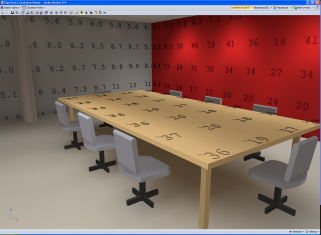
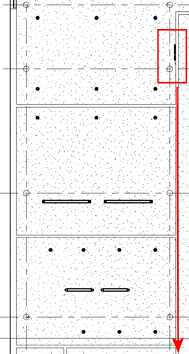
| Placing Planar Face points on two walls in Plan view | Place table top points in 3D | All points shown in rendered view |

|
|
|
Calculation Point dialog - Planar Face
|
The Add Points - Planar Face dialog is identical to the other calculation point commands. All inputs are described in the Add Calculation Points topic. Two small differences are described below.
Name - When using the Planar Face option, the default name that of the geometrical face element to which the points are attached.
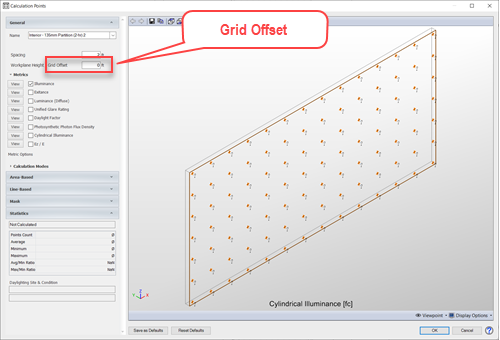
Grid Offset - The calculation point grid can be offset from the planar face by entering an offset distance here. For example: if it is of interest to have calculation points six inches above a table top, the Planar Face option can be used to place the grid of points on the table top and specify the offset entered as 0.5 feet to elevate the point grid above the table. Similarly, a Grid Offset of 1 foot (or meter) when used for a vertical grid would place the points 1 (unit) off the intended face. |
|
Edit points
When the Edit Points command is used and a Planar Face family marker selected, ElumTools cannot discern where on the surface the points are placed. The dialog will show that entire surface in the viewer as shown below. Calculation point grids will be truncated where the surface intercepts a Room or Space boundary. This may not be shown in the viewer.
|
As a general rule: if the planar face calculation point marker is contained within a Room or Space, those points will be calculated ONLY within that Room or space when using the Calculate Room or Space commands. However, if the surface and the point family are each selected independently, and the Calculate Selected Elements command employed, the points will cover the entire surface. |
|
NOTE: In order for the Add Calculation Points - Planar Face command to function properly with linked models there must be at least one 3D view defined in the linked model file.

